Why a CCTV Camera Planner Is Your Most Important Security Tool
When I started in the physical security industry about fifteen years ago, the typical approach to designing a surveillance system was surprisingly casual. A salesperson would walk a site, point at a few spots, and say something like "we'll put a dome there and a bullet there." More often than not, the result was a system that left blind corners, had unusable footage because the field of view was too wide, or missed critical details because the focal length was wrong. Over the years, I have seen the same mistakes repeated by experienced integrators and first-time buyers alike. That is why I have come to see a good cctv camera planner not as a nice-to-have, but as the single most important tool in the entire design process.
What a CCTV Camera Planner Actually Does
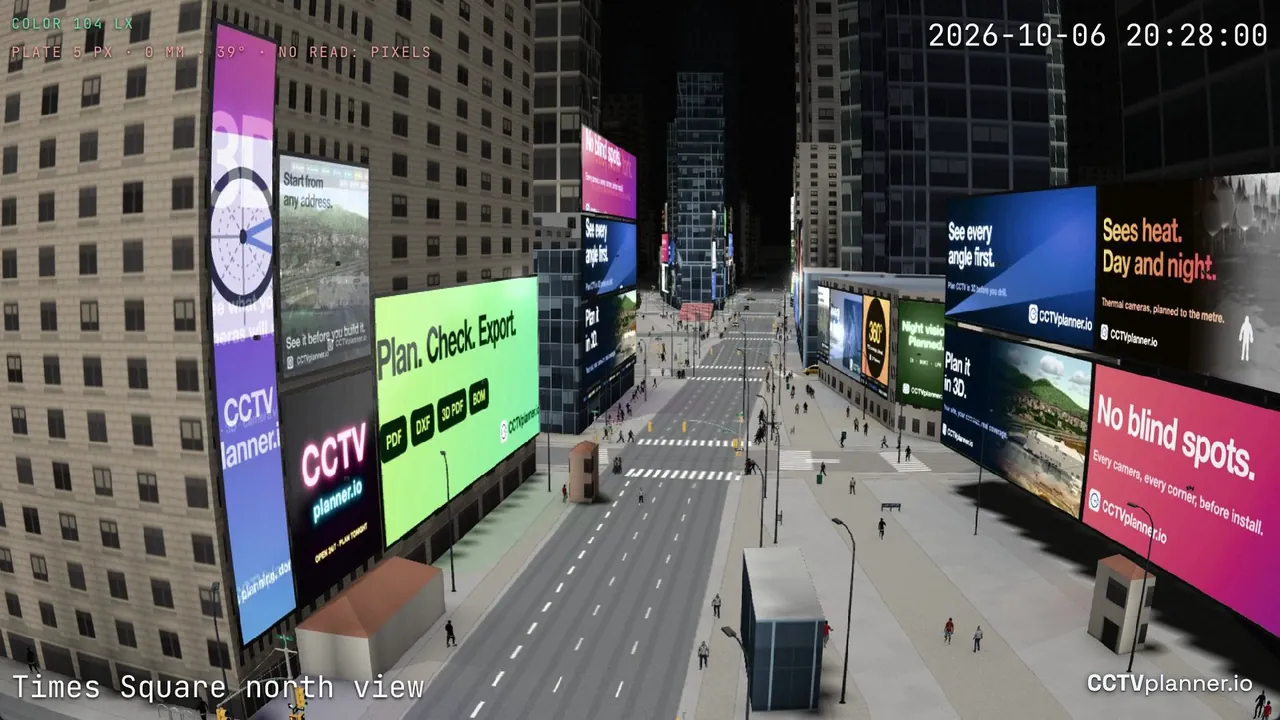
A cctv camera planner helps you map out where each camera goes, what lens it needs, and how it connects to the rest of the system before you buy a single piece of hardware. Instead of guessing, you can drop a virtual camera onto a floor plan or a 3D model, adjust its field of view, and see exactly what the camera will see. You can check whether a 2.8 mm lens on an IP camera will cover the reception desk from that mounting bracket on the far wall, or whether you need a longer focal length to read a licence plate at the gate. The best planners also let you specify camera models from brands like Hikvision, Dahua, or Axis Communications, so the field of view data in the tool matches the actual lens and sensor of the unit you intend to install.
The practical payoff is huge. I once worked on a warehouse retrofit where the client had already bought twelve fixed-dome IP cameras based on a rough sketch. When we ran those models through a cctv camera planner, we found that four of the twelve positions would leave a six-foot blind spot along the loading dock. We were able to swap two cameras for units with a different focal length, move one mounting bracket, and add a single extra camera. That fix saved the client from having to buy a whole second system later, and it cost nothing except an hour of planning time.
Beyond Simple Placement
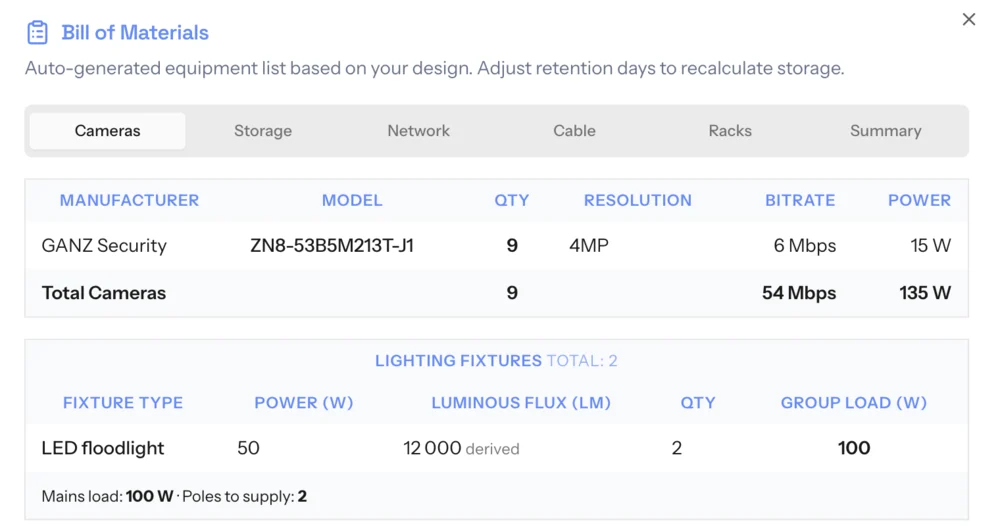
A good camera planner does not stop at field of view. It forces you to think about the whole chain: the camera, the cabling, the recording device, and the network. For modern IP camera installations, you need to know whether your PoE switch has enough power budget for every camera, especially if you are running Power over Ethernet to pan-tilt-zoom units that draw more than 15 watts. The planner can help you map out which cameras connect to which switch ports and how much total power you need. If you are mixing analog cameras with IP cameras on a single project, you also need to plan the transition at the recorder end, and the planner can help you see where coaxial cable runs need to terminate and where you might need a hybrid network video recorder.
I have also found that a planner is invaluable when you are working with multiple vendors. Not every camera speaks the same language. ONVIF compliance helps a lot, but even ONVIF Profile S and Profile T devices can behave differently depending on the manufacturer’s implementation. When you are mixing a Hikvision camera with a Milestone Systems or Genetec video management system, the planner can flag potential compatibility issues before you wire anything. The same goes for newer platforms like UniFi Protect, which has its own ecosystem and requires specific firmware versions. A good planner keeps all those dependencies visible.
Lens Selection and Field of View
One of the most common mistakes I see is people buying cameras with the wrong lens. A 2.8 mm lens gives a very wide view, but the details at a distance are poor. A 12 mm lens gives a narrow, zoomed-in view, but you might miss activity just outside that tight frame. A lens calculator built into the planner lets you enter the distance to the subject and the width of the area you need to cover, and it tells you the exact focal length required. This is especially important for critical views like a cash register, a beech window in a retail setting, or an entry door where you need to identify faces.
I once had a client who wanted to cover a long corridor in a hospital. He had bought 4 mm lenses because that was what the supplier recommended for "general coverage." When I ran the numbers through a lens calculator, the pixel density at the far end of the corridor was too low to identify a person. We swapped to 6 mm lenses, and the footage became usable for identification up to about forty feet. That change cost nothing extra, because the camera bodies were the same. It was purely a planning decision.
Power and Connectivity Planning
Another area where a planner earns its keep is power and data routing. If you are using Power over Ethernet, you need to ensure that the total cable run from the PoE switch to the camera does not exceed 100 metres for Ethernet. For longer runs, you need to plan for a mid-span power injector or a fibre extension. If you are using coaxial cable for analog cameras, you need to account for signal loss over distance and plan for amplifiers or shorter runs. A structured planner lets you lay out cable paths and check distances, which saves you from the nightmare of installing a camera only to find that it will not power up or that the video signal is too weak.
I have also seen many sites where the junction box and mounting bracket choices were made at the last minute, leading to ugly, insecure mounts that let water in or left cables exposed. A good planner will let you specify the exact mounting bracket and junction box for each camera, so you can pre-order the right parts and avoid a trip back to the supplier.
Integration with Video Management and Network Monitoring
Once the cameras are in place, the next question is how to manage them. A planner that exports to a format your video management system can read is a huge time saver. For example, if you are using Milestone Systems or Genetec, you can import the camera positions and settings directly from the planner rather than configuring each camera manually. Some planners also integrate with network monitoring tools like U-NMS, so you can see which cameras are online, what their bandwidth usage is, and whether any camera has lost its connection. That kind of integration turns the planning document into a living system diagram that stays useful long after installation.
When a Planner Saves the Budget
I have been on projects where the client insisted on skipping the planning phase because they thought it was just an extra step that delayed the sale. In every single case, the installation took longer, required more hardware, and cost more than if we had spent two hours with a cctv camera planner first. The planner does not add cost; it subtracts it. It finds the places where a cheaper camera with the right focal length can replace an expensive one with the wrong lens. It shows you where one camera can do the job of two if you mount it slightly differently. It prevents you from buying a PoE switch that is too small or a network video recorder that does not have enough channels.
I remember a school project where the integrator had quoted forty cameras. When we ran the site through a planner, we found that thirty-two cameras would cover every required view, and the eight unused channels on the recorder could be kept for future expansion. The school saved about twenty percent on hardware. The integrator still made their margin, and the school got a system that worked properly from day one. That is the kind of outcome a planner enables.
Choosing the Right Planner
Not all planners are the same. Some are simple drag-and-drop tools with a fixed set of camera icons. Others are full-featured applications that include a lens calculator, cable length estimator, and export to PDF or CSV. Look for one that supports the brands you use regularly, like Hikvision, Dahua, or Axis Communications, and that lets you define custom camera profiles if you work with less common models. ONVIF compatibility is a good sign, but the planner should also let you specify the exact model number so the field of view data is accurate.
If you are a one-person operation or a small integrator, a free browser-based tool might be all you need. If you are a larger company that does multiple projects a month, consider something that can store project templates and let you reuse standard layouts. The important thing is to use it, not just buy it and let it sit on your hard drive.
Final Thoughts
I have designed systems with pen and paper, with spreadsheets, and with dedicated software. The difference between a planned system and an unplanned one is night and day. A cctv camera planner gives you clarity before you commit to hardware, and that clarity saves time, money, and frustration. Whether you are installing a single camera at a beech window or a hundred cameras across a factory floor, take the time to plan it properly. Your future self, and your customer, will thank you.